

How to Mount a Wall-Hanging Fan
29th January 2025 | Written By: Rika Ash | Read Time: 3min | Last Updated: 21st April 2025
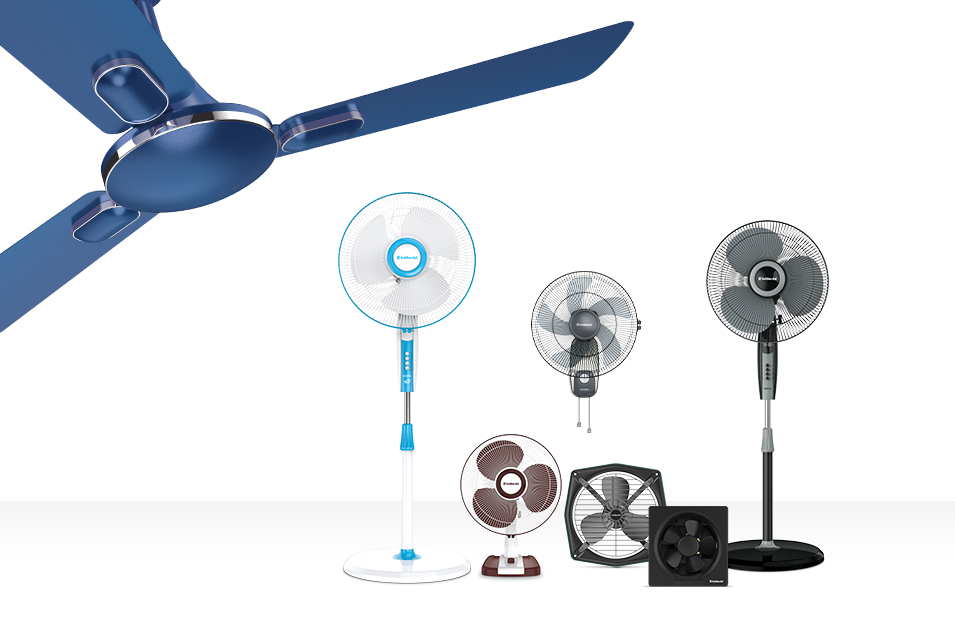
Thought getting a wall-hanging fan would be practical choice for cooling this summer but stuck on how to install it? While it may seem challenging at first but with a step-by-step guide and the right tools its very simple. They offer powerful airflow and are ideal for homes, shops, and offices out of all types of fan. Mounting a wall fan may seem challenging, but with the right tools and a little patience, you can do it yourself. Here’s a step-by-step guide to help you get started.
What You’ll Need:
- Wall-hanging fan with mounting bracket
- Drill machine with appropriate bits
- Measuring tape
- Screwdriver
- Pencil
- Wall plugs and screws (usually provided with the fan)
Spirit level (optional but useful)
-
Step 1: Choose the Right Spot
Select your preferred location where the fan can circulate air freely. Make sure to place it near a power socket for easy of plugging. Ensure there is no obstruction against curtains. Ideally, the fan should be at least 7 feet above ground level for effective air distribution.
-
Step 2: Mark the Mounting Points
Hold the mounting bracket against the wall at the desired height. Use a pencil to markup the placement of the screw holes. Use a spirit level to make sure the bracket is straight.
-
Step 3: Drill Holes into the wall
Drill holes into the wall at the marked points using the wall plugs if mounting concrete surface. For any other type of walls such as wooden, you may not need plugs.
-
Step 4: Fix the Bracket
Insert the screws through the bracket into the holes and tighten them securely using a screwdriver. Ensure the bracket is firm and does not wobble.
-
Step 5: Mount the Fan
Carefully place the wall fan unit into the bracket made. Most wall fans these days come with a lock-in mechanism which should ensure safe mounting. If it doesn’t mount well check for alignment and read the instruction manual for reference.
-
Step 6: Plug In and Test
Once mounted, plug in the fan carefully and switch it on to take a test. This step is crucial to test all oscillation and speed settings to ensure it functions safely and correctly.
-
Final Tip:
Before starting always read the instructions given by the manufacturer before you start the installation process or if unsure seek the help of a professional. This will help prevent any electrical malfunction or mounting hazards.
Conclusion:
We hope this article was a proper guide for your installation. If any