

Step-by-Step Guide: How to Install an Electric Doorbell in Your Home
20th December 2024 | Written By: Rika Ash | Read Time: 3min | Last Updated: 20th December 2024
A doorbell is an essential feature of every home, alerting you when someone is at the door. Installing an electric doorbell enhances both convenience and security. While it may seem simple, it requires a bit more effort than setting up a wireless doorbell. In this guide, we’ll walk you through the process so you understand the steps involved, whether you’re doing it yourself or supervising an electrician.
Understanding the types of doorbells
Doorbells come in two types: wired and wireless. Wired doorbells connect to a home’s electrical system, offering reliable performance and advanced features like video monitoring but require professional installation. Wireless doorbells are battery-operated or use plug-in receivers, making them easy to install and ideal for apartments or rented homes, though they need regular battery changes. Choose the doorbell based on your needs, installation ease, and budget.
Steps to install an electric doorbell
-
Wired Doorbell:
- Check the Electrical Point: Begin by inspecting your doorstep for an existing live electrical point. This is essential for powering the doorbell.
- Connect the Wire to the Bell Push Button:
- If a live electrical point is available, connect the wires to the bell push button securely.
- If no electrical point is present, make necessary provisions to install a connection for the bell push button at the doorstep.
- Connect to the Doorbell Unit: Ensure the wire from the bell push button is connected to the wired doorbell unit, which should be mounted in a suitable location inside your home or premises.
- Test the Connection: Once all connections are securely established, test the doorbell by pressing the button. Your wired doorbell is now ready to use, providing reliable and consistent operation.
-
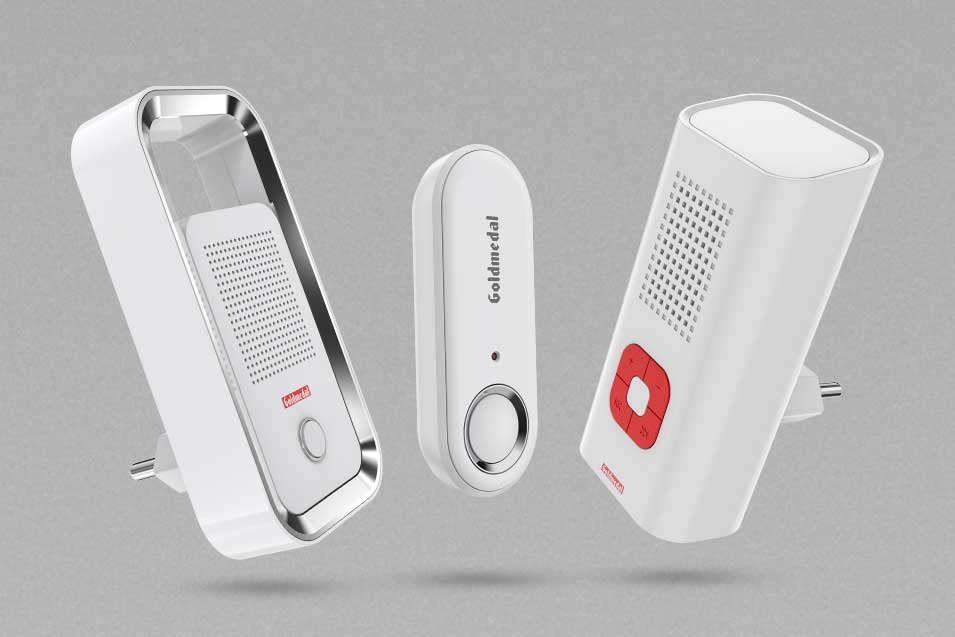
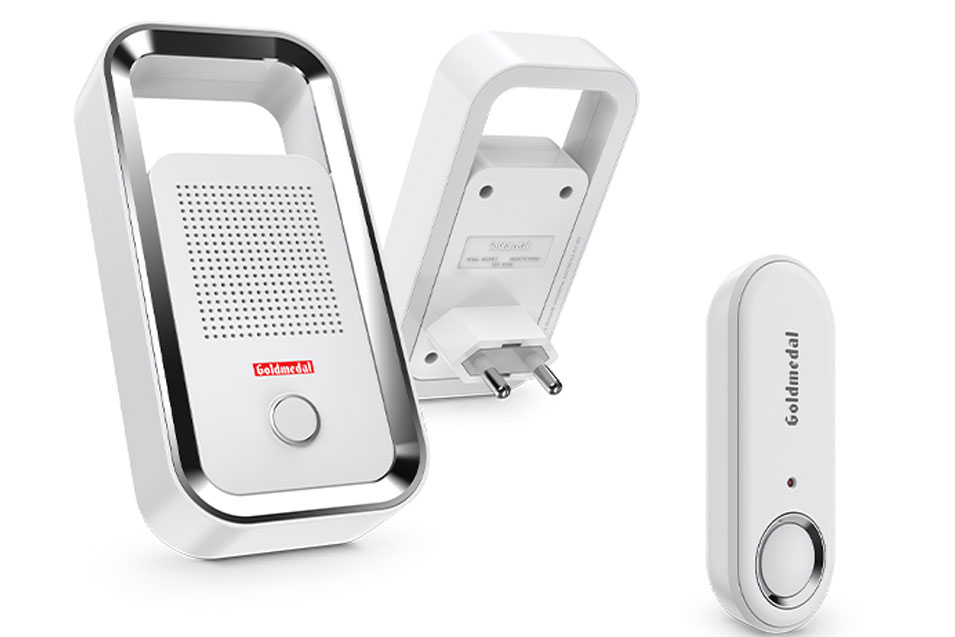
Wireless Doorbell:
Before starting the installation, ensure the following:
- The distance between your wireless doorbell and transmitter is within the specified range.
- The doorbell functions well within your space, with or without any hindrance.
-
Installing a Plug-In Wireless Doorbell:
- Verify that the electrical point where the doorbell will be connected is live or active.
- Plug the wireless doorbell receiver into the selected electrical socket.
- Mount the transmitter at a convenient location, ensuring it is within the tested range of the receiver.
- Your doorbell is now ready for use.
-
Installing a Battery-Operated Wireless Doorbell:
- Check the battery power of the receiver and transmitter before installation.
- Position the receiver and transmitter within the specified range to maintain optimal functionality.
- Mount the transmitter securely at a convenient location.
- Keep in mind that the effective range may be reduced if the battery power is low. Use the device within a range that allows proper functioning even with diminished battery strength.
By following these steps, your wireless doorbell will be ready for seamless operation.
Conclusion
Installing an electric smart doorbell can enhance your home’s functionality and provide an added layer of security. Whether you’re supervising the job or getting professional help, understanding the process can give you peace of mind and ensure a smooth installation. For those less familiar with electrical work, calling an electrician is a wise decision that guarantees safety and proper functioning.
Disclaimer: We recommend using the services of a licensed electrician to install the doorbell at your residence. This article is intended only to inform you of the steps involved during the process.

Frequently Asked Questions (FAQs) :
- Q1. What tools do I need to install an electric doorbell? To install a wired doorbell, you’ll need a screwdriver, wire stripper, drill, voltage tester, and electrical tape. For a wireless doorbell, you’ll need a screwdriver, double-sided adhesive or mounting screws, and possibly a drill if wall mounting is required.
- Q2. Do I need any electrical experience to install an electric doorbell? No, you don’t need extensive electrical experience to install an electric doorbell, but basic knowledge of wiring and safety precautions is essential. If you’re comfortable handling simple tools and following instructions, you can likely handle the installation yourself. However, if you’re unsure or unfamiliar with electrical work, it’s best to hire a licensed electrician to ensure a safe and proper setup.
- Q3. Can I install an electric doorbell if I don’t have existing wiring? Yes, you can still install an electric doorbell even without existing wiring by opting for a wireless doorbell system. Wireless models are battery-powered and communicate via radio signals, making them easy to install without the need for complex wiring. Alternatively, you can hire an electrician to set up new wiring if you prefer a traditional wired doorbell for more consistent performance.
- Q4. How long does it usually take to install an electric doorbell? Installing an electric doorbell typically takes about 1 to 2 hours, depending on the complexity of the installation and the wiring involved. If it’s a straightforward replacement, it may take less time, but new installations or setups requiring additional wiring might take longer.
- Q5. Can I replace an old doorbell with a new electric model? Yes, you can replace an old doorbell with a new electric model. Most modern doorbells are designed to fit standard wiring setups, making the replacement straightforward. However, it’s important to check the compatibility of the new doorbell with your existing wiring and power source, or consult an electrician for safe installation.
- Q6. How can I test the doorbell after installation to ensure it works? To test the doorbell after installation, turn the power back on at the circuit breaker and press the doorbell button. The chime unit should sound if everything is connected correctly. If it doesn’t ring, double-check the wiring and ensure the power is on.