

How to Connect LED Strip Lights: A Step-by-Step Guide
06th February 2026 | Written By: Rika Aash | Read Time: 3min | Last Updated: 06th February 2026
LED strip lights are commonly used for aesthetic lighting—such as cove lighting in ceilings or under-cabinet lighting in kitchens—and many other ways to elevate interiors. These lights are not just versatile, but also easy to install. With a little planning and the right guidance, you can use strip lights for architectural accents. Here’s a beginner’s step-by-step guide to connecting LED strip lights.
-
Step 1: Visualisation
Start by visualising how LED strip lights will enhance your ambience. Carefully observe the furniture, coves, or areas where you plan to install the strip lights before moving on to the next step.
-
Step 2: Understand the components
Before going ahead with the installation, it’s important to understand the minimum requirements.
- The voltage compatibility of your LED strip lights to ensure both the strip and the power source operate at the same voltage.
- Ensure the power supply or driver matches the strip’s voltage and wattage requirements.
- Clean the installation area thoroughly to ensure proper adhesion.
- Keep connectors and soldering tools handy to ensure a smooth and hassle-free installation.
-
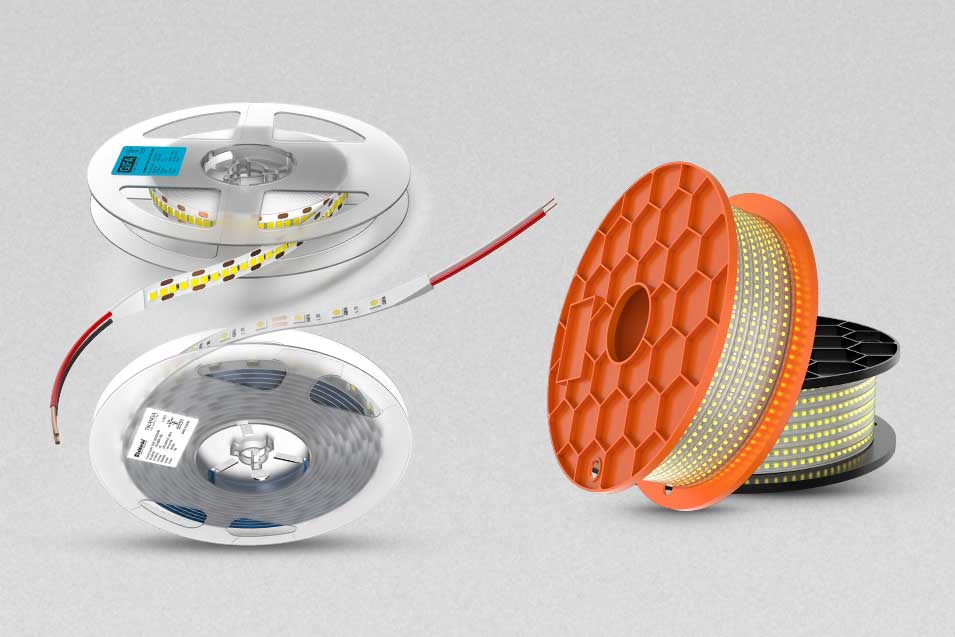
Step 3: Measure and plan the layout
Carefully measure the area where the strip will be installed and mark the path. On the basis of the measurement, purchase the strip lights to ensure you get accurate length. Additionally, LED strips can only cut at specific points, usually indicated by a scissor or copper pad symbol. Planning ahead avoids wastage and ensures even lighting.
-
Step 4: Cut the LED strip (if required)
If your strip is longer than required, then you can cut it at only marked points. Cutting elsewhere can damage the circuit.
-
Step 5: Choose your connection method
You can select between two options:
- Clip connectors: This are quick, tool-free, and highly recommended for beginners.
- Soldering: This is a more reliable and durable connection method widely used for long-term installations.
To securely connect the LED strips, align the positive and negative terminals correctly with the connectors.
-
Step 6: Connect the controller (optional)
If you plan to use RGB, smart, or dimmable LED strips, connect the strip to controller first, then go ahead with connecting the controller to the power supply.
-
Step 7: Connect the power supply
Plug the LED strip (or controller output) into the power supply. Ensure the driver’s wattage exceeds the total wattage of the LED strip by at least 20% for safe and efficient operation.
-
Step 8: Test before final installation
Before going ahead with final installation, switch it on to see if the strip lights work fine. Check the brightness, colours, and responsiveness. This step can save you a lot of rework later.
-
Step 9: Mount the LED strip
Clean the surface and peel off the adhesive backing and press the strip firmly along the surface. For longevity, you can also use mounting clips or aluminium profiles.
-
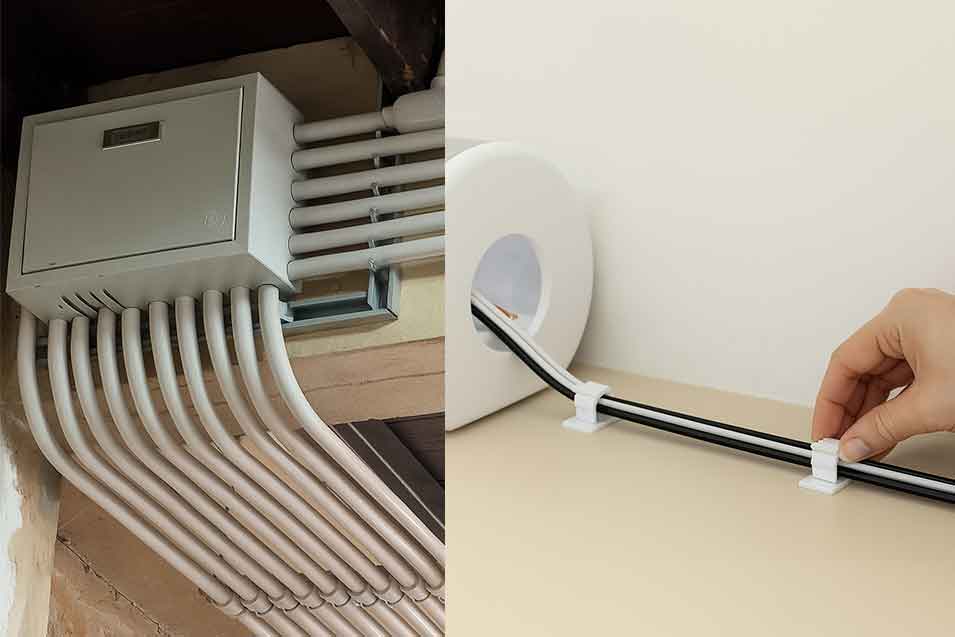
Step 10: Conceal the wiring
Conceal the wires neatly using channels or conduits. Make sure to keep proper ventilation around the driver to prevent overheating.
By following the steps outlined above, you can easily connect LED strip lights and achieve a clean, professional-looking installation. While the process is fairly straightforward, it is always advisable to consult a qualified electrician to ensure safety and proper wiring.

Frequently Asked Questions (FAQs) :
-
Q1. Can LED strip lights be connected directly to power?
No, LED strip lights cannot be connected directly to mains power. They require a compatible LED driver or power supply to convert the voltage to a safe, low-voltage output.
-
Q2. How can I set-up LED strip lights near my TV-Unit?
LED strip lights near a TV unit can be set up by fixing them behind or along the edges of the unit and connecting them to a compatible LED driver. For a clean look and easy control, use a switch, remote, or smart controller to adjust brightness and ambience.
-
Q3. Is it better to solder or use connectors for LED strips?
Using connectors is easier and more convenient for quick installation, while soldering provides a stronger and more reliable connection for long-term use. The choice depends on whether you prioritise ease of setup or maximum durability.
-
Q4. How can I sync my LED Strip Lights with my TV for movie effects?
You can sync LED strip lights with your TV by using smart LED strips or controllers that connect via HDMI or apps and react to on-screen colours. This creates an immersive backlighting effect that enhances movie and gaming experiences.
-
Q5. How do I make LED strip lights stick better?
To make LED strip lights stick better, clean the surface thoroughly to remove dust and grease before installation. For extra hold, use high-quality double-sided tape, mounting clips, or silicone adhesive, especially on textured or warm surfaces.